
After selecting this option, an overview screen is shown:
: Select a line and then this option to view/modify the properties of a section. See below for an explanation of the fields.
: Select a line and then this option to delete the section.
: Use this option to add a new section. An input form will be displayed:

Section name: Location of the study space – this must be one of the locations as defined in the Vubis database.
Number of seats: Number of places available in the study space.
Entry gates (separate with comma): List of entry gate id's – every entry should have a unique gate id.
Exit gates (separate with comma): List of exit gate id's – every exit should have a unique gate id.
Maximum number of long interruptions: Maximum number of times that a user can select a "long exit" when leaving the study space.
Maximum number of short interruptions: Maximum number of times that a user can select a "short exit" when leaving the study space - once this maximum has been exceeded, the user will no longer be allowed to enter the study space.
Maximum time for long interruption: Maximum number of minutes before the user should return after a "long exit" – if this time is exceeded the user's place is released.
Maximum time for short interruption: Maximum number of minutes before the user should return after a "short exit" – if this time is exceeded the user's place is released.
Period documents on loan are kept: Time after which documents on loan that are given in deposit will no longer be held and may be returned to the shelves.
Printer for interruption receipt: Printer on which receipts will be printed that indicate at what time the user must return in order to conserve his/her place.
Activate access control: On/Off option that indicates whether control is activated – if this is not the case, entries and exits are just registered.
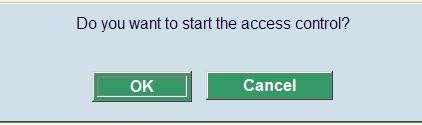
Use this option to start the access control daemon and initializes all counters. After selecting this option a message will be displayed:
Use this option to restart the access control daemon, but without (re)initilisation of all counters. After selecting this option a message will be displayed:
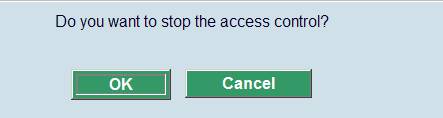
Use this option to stop the access control daemon. After selecting this option a message will be displayed:
This option opens a separate monitor window that displays the entry and exit requests, as well as the counters:

Green barcodes mean access has been granted, red barcodes mean access has been denied. It is possible the same barcode appears more than once, for instance if access was originally denied and then granted with override.
Use the option manual control to register entries and exits manually.
Please note
Note that the statistics data are updated when the gate manager daemon is started. So if you are using manual mode only, you will still need to start the daemon to get up-to-date statistics.
If you have more than one section defined, you will be prompted to select a section first:

Otherwise you will be taken straight to the sub menu for the section:

: After selecting this option, an input form will be displayed:
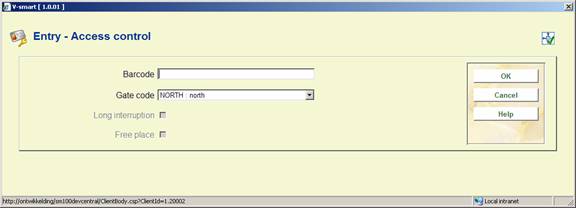
Input a borrower barcode and select an entry gate. The system processes the entry request for the user. If the user passes the validation checks, a message is displayed:
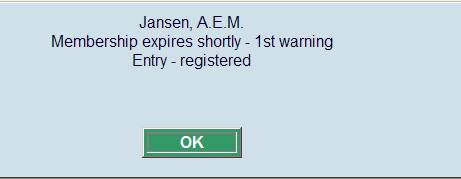
If the user does not pass the validation checks, a warning is displayed:
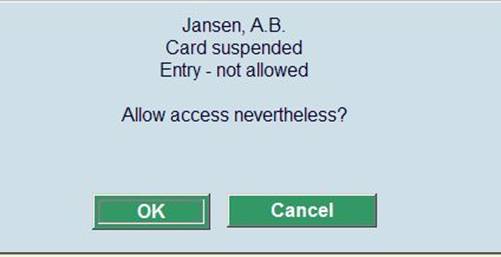
If you click on this form, entry is granted anyway.
: After selecting this option, an input form will be displayed:

Input a borrower barcode and select an entry gate. Optionally mark Long interruption and/or Free place. After processing the request, the system displays a message:

Please note
If a borrower block was overriden to allow access anyway on entry, a warning that exit is not allowed will be displayed. This can also be overriden. But in practice this will probably seldom occur.
: This option is used to authorize an exit for a user that has documents on loan – this authorization is normally given after the user has left the documents in deposit.
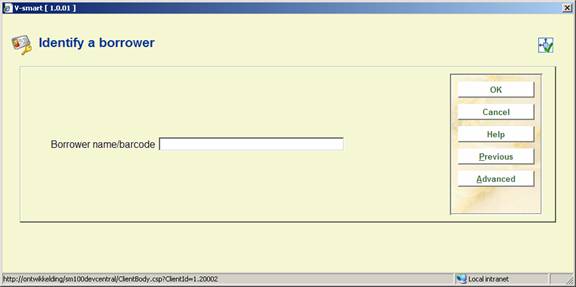
After selecting this option, the standard form for searching a borrower will be displayed:
: This option is used to cancel the exit authorization for a user – this is done after the user has recovered the documents that were left in deposit. After selecting this option, the standard form for searching a borrower will be displayed.
Alternatively, you can register entries and exits without any checks being performed.
: Use this option to just register entries, without control. An input form will be displayed:

After entering the borrower barcode, no messages are displayed by the system.
: Use this option to just register exits, without control. An input form will be displayed:

After entering the borrower barcode, no messages are displayed by the system.
The other two menu options deal with document processing.
: Displays documents on loan, with a print option for a deposit receipt. After selecting this option, the standard form for searching a borrower will be displayed:
After identifying a borrower, an overview screen will be displayed:

: List of documents that after a certain time {parameter} can be sent to the shelves because the users have not recovered them.

After selecting this option a sub menu will be displayed:
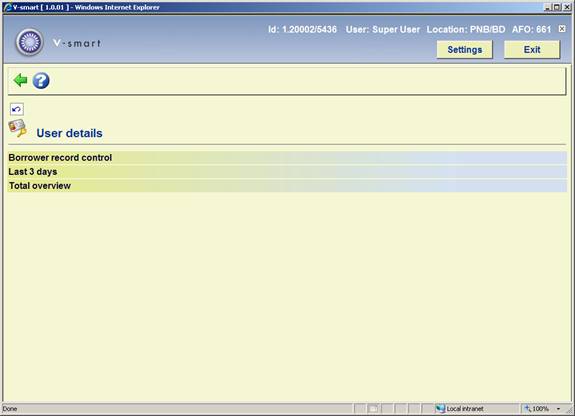
: Does the borrower record checks that are done when an entry is requested, and displays the result. After selecting this option, the standard form for searching a borrower will be displayed:

After identifying a borrower a warning may be displayed:

The warning can relate to a borrower block and/or to the fact that the borrower already has a place.
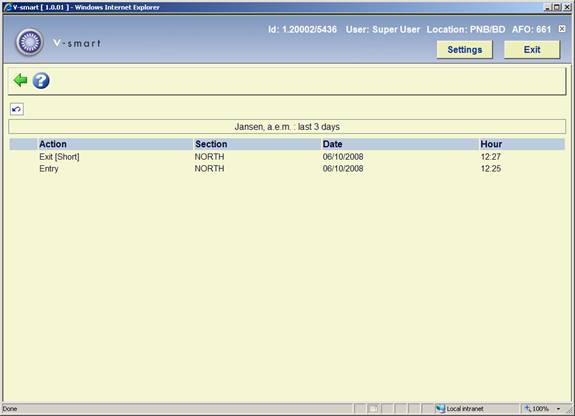
: Displays all entries and exits of the borrower for the last 3 days. After selecting this option, the standard form for searching a borrower will be displayed:
After identifying a borrower an overview screen will be displayed:
: Displays total number of entries and exists for a borrower, as well as the maximum and minimum time spent, and the date and time of the last visit. After selecting this option, the standard form for searching a borrower will be displayed:
After identifying a borrower an overview screen will be displayed:

· Document control - Change History
|
Version |
Date |
Change description |
Author |
|
1.0 |
October 2008 |
creation |
|
|
1.1 |
January 2009 |
new screen shot manual control menu |
|